Before the Lesson
- Each pair of students will need two pieces of insulated wire, a battery, a flashlight bulb, and tape. Cut the insulated wire into six-inch segments. Remove one-half inch of plastic insulation off the ends of each segment. To do this, you can use wire strippers or you can score the plastic insulation around the wire with sharp scissors and then carefully but firmly pull it off with your fingers.
The Lesson
Part I: Introduction
Ask what students already know about electricity. Ask:
- What is electricity?
- What is electrical current?
- What is an electric circuit?
Have them draw examples of electricity and electric circuits in their lives.
1. Tell students that they cannot see electricity because electrons, the charged particles whose movement through a substance creates electricity, are too small to be seen even with a microscope. When electrons flow through certain substances (like copper wire), they form an electrical current. Electrical current provides energy to power all kinds of things, from video games to refrigerators to cars!
Part II: Light a Bulb
2. Tell students that they are going to apply what they just learned about circuits to light a bulb. Divide the class into teams of two and distribute two lengths of wire (with the ends stripped), a flashlight bulb, a D-cell battery, and some tape to each team. Challenge students to use their critical thinking skills and trial and error to get their bulbs to light. Then have them draw a diagram of their circuit, making sure to include all its parts.
SAFETY NOTE
Exploring electricity is safe as long as it is done with low-voltage batteries (such as D-cell) and under adult supervision. Tell students never to experiment with electricity from a wall outlet. Doing so can be fatal.
3. Have students report their findings. Ask:
- Did you get the bulb to light?
- In what order did you connect the parts?
- How did you know that electricity flowed?
- Can you trace the path of electrons in your circuit?
- What happened if the circuit was broken, that is, if there was a gap in the circuit?
Part III: Explore Conductivity 5. Explain that substances through which electricity can travel easily are called conductors. Substances through which electricity has difficulty moving are called insulators. Then show students the Exploring Conductivity: Kid Circuits video. Ask them if the ZOOM cast members make good conductors. Tell students that the human body is not a very good conductor. Demonstrate by trying to light a bulb using your (dry) hand as part of the circuit. (The bulb does not light.) It is because of the remarkably low level of current needed by the digital clock in the video segment that the ZOOM kids' bodies are able to complete the circuit. Ask: - Do you think the kids would be able to get a calculator to work?"
- What materials do you think might conduct electricity well?"
6. Challenge students to test the conductivity of a variety of materials, using the battery and bulb circuits they built in Part II. Have them begin by cutting one of the circuit wires in half and stripping the insulation off the two new ends. Then have students touch (or attach) both ends of the newly cut wire to various materials and record their results. (This is a great activity to do at home; students can simply carry the circuit with them from room to room, testing different objects.)
7. Ask students to create a class list of conductors and insulators on the board and categorize the objects by the materials they are made of: metal, glass, and so forth. Ask them to identify any patterns they see. Then introduce new materials to the list and ask students to predict whether each material is a conductor or an insulator. For example, if they found that tin foil and copper wire were good conductors, which do they think a paper clip would be?
Related Resources to Check Out- Lightning! QuickTime Video
This video explores the mysterious force of lightning. - Electric Girl QuickTime Video
ZOOM guest, Anna, loves electricity. Watch her construct a homemade flashlight.
Lessons

 6th Grade
 7th Grade
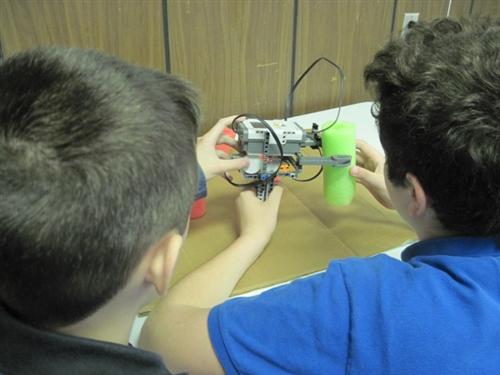
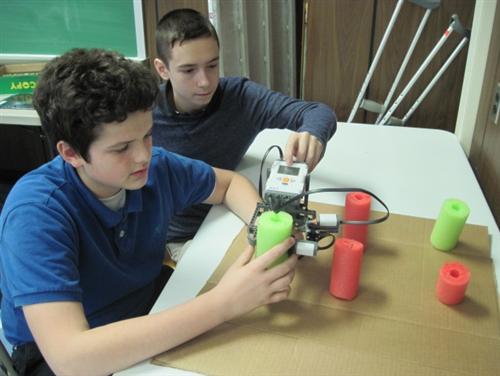 Grade 8, Robotics 2 students at Woodrow Wilson Middle School measuring a tree trunk with a Lego caliper.
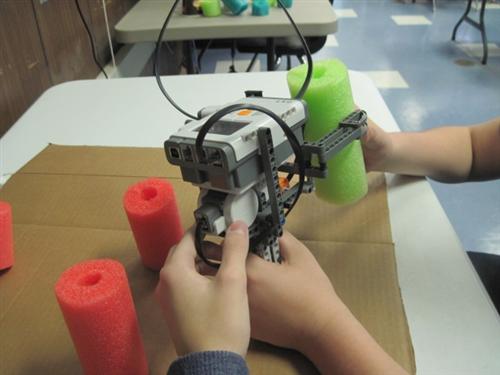
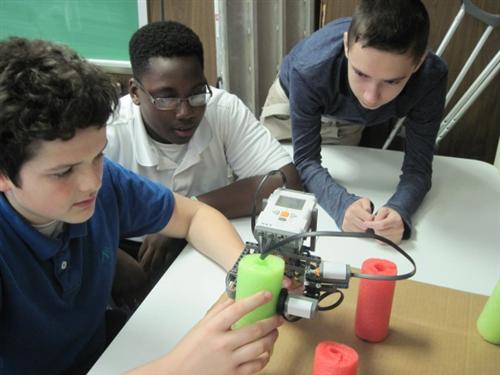 STEM Lab
 Electric Circuits - Grades 6-8Although it has been used as an energy source for over 100 years, many people don't understand the basic principles of electricity. In this lesson, students begin to develop an understanding of electrical current. First, they act out an electric circuit. Then they use critical thinking skills and deductive reasoning to create their own electric circuits using a few simple materials. Next, students watch video segments of the ZOOM cast members using electric circuits to make a door alarm and a steadiness tester. Finally, students test the conductivity of a variety of materials.Objectives
